How to Add a Network to Your Wallet
RateMyWallets is reader-supported. When you buy through links on this page, we may earn a commission at no extra cost to you.
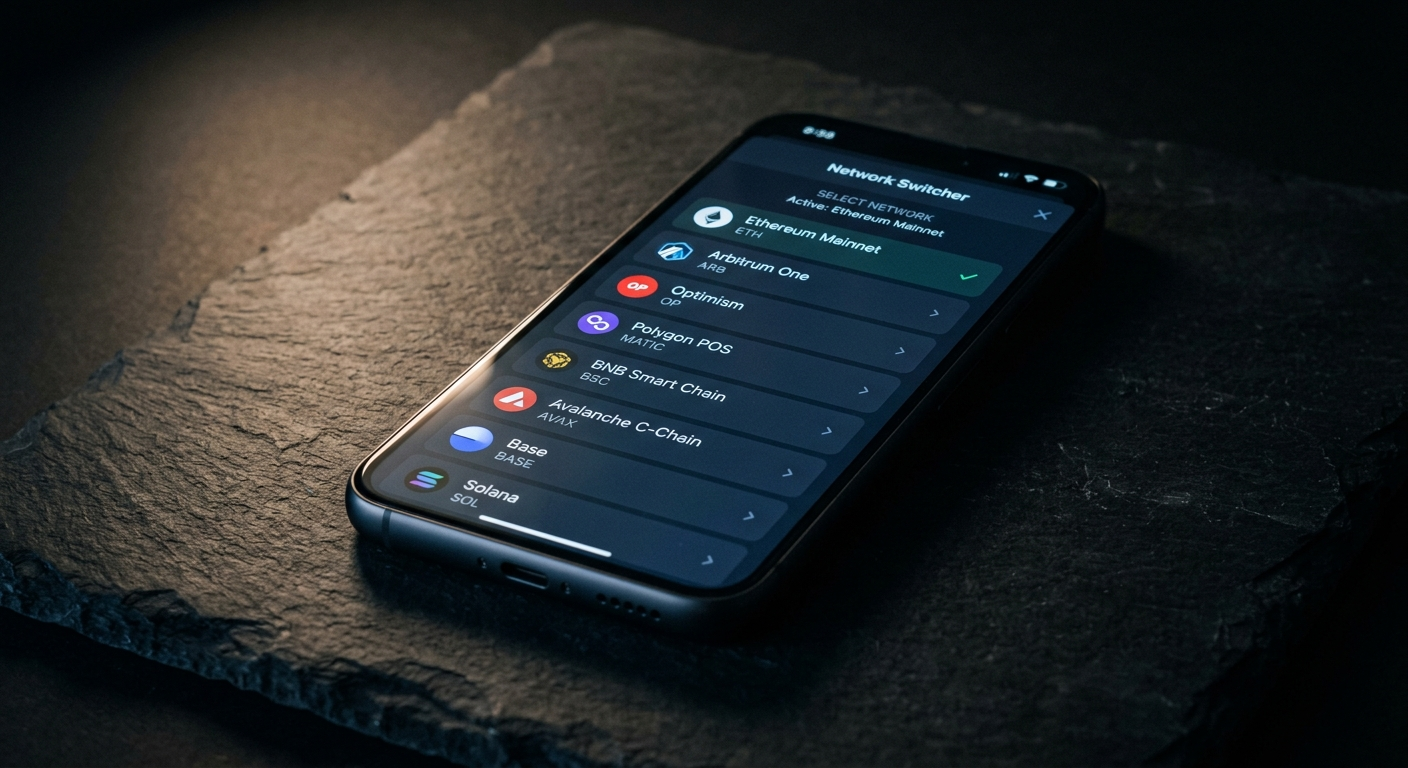
By the end of this tutorial, you will be connected to the right blockchain in under two minutes. Getting your cryptocurrency wallet set up is an exciting first step, but sometimes you log in and realize you cannot see your assets or connect to a specific decentralized application. This usually happens because you are simply on the wrong blockchain. Adding a new network to your wallet is a straightforward process. Let us walk through the exact steps so you can take full control of your digital assets safely and confidently.
Why You May Need to Add a Network
Navigating the world of cryptocurrency can feel overwhelming at first, but understanding your digital tools makes the journey much easier. Think of a network (a specific blockchain environment where your transactions occur) as a separate lane on a massive highway. If you are driving in the Ethereum lane, you cannot directly interact with vehicles traveling in the Solana lane.
Many decentralized applications and decentralized finance platforms operate on entirely different highways. If you recently transferred funds and notice your tokens not appearing, you might just need to add the correct blockchain environment to view them. Your assets are safe on the blockchain. Your wallet simply needs the right map to locate them. Knowing how to point your application to the correct environment is a fundamental skill for any crypto user.
How to Add a Network in MetaMask
MetaMask is one of the most popular tools in the decentralized space. By default, it connects to the Ethereum mainnet, though recent versions come with a handful of popular networks pre-configured (such as Arbitrum, Base, and Polygon). Learning how to add custom network to MetaMask is incredibly useful for expanding your crypto journey since many modern applications use alternative environments to save on transaction costs. You have two main ways to accomplish this task.
Option A: One Click via Chainlist (Recommended)
We highly recommend using Chainlist (chainlist.org) for this process. This method is much safer than typing configuration details by hand because all data is already verified by the community.
- Navigate to chainlist.org in your web browser.
- Click the connect wallet button at the top of the page.
- Search for the specific blockchain you wish to access using the search bar.
- Click the add chain button next to your desired result.
- Approve the connection request when your MetaMask extension pops up.
This automated process ensures you do not accidentally connect to a malicious or incorrect server, keeping your digital assets highly secure.
Option B: Manual Entry via MetaMask Settings
If you prefer to configure things manually, or if a specific environment is not listed on external directories, you can input the details yourself. You will need a few pieces of information: an RPC URL (the technical web address your wallet uses to communicate with the blockchain), a chain ID (a unique number identifying the specific blockchain), and a block explorer (a search engine for looking up blockchain transactions).
- Open your extension and click on the settings gear icon.
- Select the networks menu option.
- Click the button to add a network.
- Choose the option to add a network manually.
- Fill in the requested fields exactly as provided by official documentation: network name, RPC URL, chain ID, currency symbol, and block explorer URL.
- Save your changes to complete the process.
How to Add a Network in Trust Wallet
When you first start using Trust Wallet, you will notice it operates a bit differently from browser extensions. This application is designed to be highly intuitive for beginners. Most major blockchains are already built directly into the software from the moment you install it.
You typically do not need to hunt down technical details or use external sites to get started. Instead, you can simply enable them from the main menu. Go to your settings menu, tap on preferences, and select networks. From there, you can toggle the ones you want to use. If you absolutely need to configure an unlisted option, navigate to settings, tap networks, and hit the plus button in the top corner to enter the data manually, just like you would in a browser extension.
How to Add a Network in Phantom
The Phantom application is primarily famous for its seamless integration with Solana. However, it also supports Ethereum Virtual Machine compatible chains.
While its EVM network management is slightly more limited than MetaMask, it handles the basics perfectly well for most users. You can access your settings, select active networks, and toggle the supported blockchains on or off easily. Phantom simplifies the experience by removing the need for manual technical configurations in most everyday scenarios, making it highly accessible for absolute beginners exploring outside of the Solana ecosystem.
How to Switch Between Networks
Once you have configured your desired environments, figuring out how to switch networks MetaMask style or within other applications is your logical next step. Usually, this involves clicking a dropdown menu at the top of your wallet interface and selecting your preferred destination.
After switching, your token balances update automatically to show only assets existing on that specific chain. Do not panic if your balance suddenly drops to zero. You simply changed lanes on the highway and are now looking at a different set of assets. If you find your tokens still not appearing after switching, you may need to import the custom token contract address manually.
Which Networks Should You Add
The decentralized landscape is vast. As a cautious beginner, you should stick to well established environments. We suggest starting with Base and Arbitrum. Base is a Layer 2 (a secondary framework built on top of a main blockchain to increase speed and lower costs) created by Coinbase. Arbitrum is another popular Layer 2 for Ethereum.
You might prefer the lower fees on Base or Arbitrum when experimenting with decentralized finance applications. Polygon and BNB Chain are also excellent, low cost alternatives with massive user bases. Please note that this is not financial advice. We do not recommend specific investments, but we do encourage learning how to navigate these environments safely.
Conclusion
Adding new blockchains to your digital toolkit does not have to be a stressful experience. By understanding the core concepts and using secure tools like Chainlist, you can safely explore the broader world of decentralized finance. You now have the knowledge to switch lanes on the crypto highway with complete confidence.
If you are ready to explore more tools that suit your growing expertise, take a moment to compare wallets or read our detailed wallet reviews to find the perfect match for your digital assets.